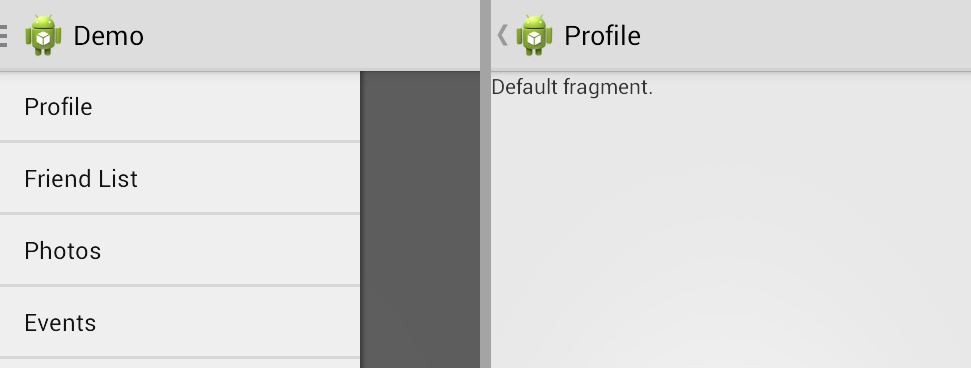
Google recently released a new version of the Android Support Library (r18). They added a number of features. One of the biggest additions is support for the ActionBar back to 2.1 devices. In this post we’ll cover what you need to set up the new ActionBarActivity within your project. The sample code also shows how to integrate the DrawerLayout which was added in r13 of the support library.
With the addition of the Drawer and ActionBar to the support library, developing apps for 2.1+ devices is easier with fewer dependencies on third party libraries.
Step 1: Setup Android Studio
First, download Android Studio. Next, open the SDK manager and download the latest Android Support Library and Android Support Repository. We’ll be using both v4 and v7 for this demo (step 2).
http://developer.android.com/sdk/installing/studio.html
http://developer.android.com/tools/support-library/setup.html#download
Make sure you are running the latest version of Android Studio (0.2.2+) and the latest version of Android (18.0.1+). Create a new project and continue to step 2.
Note: You can also include these libraries with Eclipse. Follow the instructions on the support library setup page for more information.
Step 2: Add Dependencies
Update your gradle.build file to include the following. If your gradle.build file is empty to start with, you’re editing the wrong file. Drill down into your project folder and find the gradle.build file with content in it.
buildscript {
    repositories {
        mavenCentral()
    }
    dependencies {
        classpath 'com.android.tools.build:gradle:0.5.+'
    }
}
apply plugin: 'android'

repositories {
    mavenCentral()
}

dependencies {
    compile 'com.android.support:support-v4:18.0.+'
    compile 'com.android.support:appcompat-v7:18.0.+'
}

android {
    compileSdkVersion 18
    buildToolsVersion "18.0.1"

    defaultConfig {
        minSdkVersion 7
        targetSdkVersion 18
    }
}
At this point your project should compile.
Step 3: Add the Support ActionBar
public class MainActivity extends ActionBarActivity {

    ...

    @Override
    protected void onCreate(Bundle savedInstanceState) {
        super.onCreate(savedInstanceState);
        setContentView(R.layout.activity_main);

        ...

        getSupportActionBar().setDisplayHomeAsUpEnabled(true);
        getSupportActionBar().setHomeButtonEnabled(true);

        ...

    }
Make sure to use the theme AppCompat or use a custom theme that inherits from AppCompat. If you don’t, you will get the following error: “must have a theme which inherits from Theme.AppCompat.”
    <application
        android:allowBackup="true"
        android:icon="@drawable/ic_launcher"
        android:label="@string/app_name"
        android:theme="@style/Theme.AppCompat" >
Step 4: Style the ActionBar
You can use this website to help generate a theme based on AppCompat. Make sure to select AppCompat from the style compatibility drop down.
Keep in mind styles generated with that tool do not impact the styling of the ViewPager. ActionBar tabs may look similar to the ViewPager but they require a separate set of styles. More information can be found here.
Source Code:
Full source code to an example project built with Android Studio can be found here.