Being new to 3D printing, I felt like the instructions relating to bed leveling were very vague. My first few prints did not stick to the bed and when I finally got my prints to adhere, the edges would peel up half way into the print. After some troubleshooting, my prints are now adhering to the bed without any issues.
Disclaimer: Each 3D printer is a little bit different. Even printers of the same model my behave differently. The following steps helped me but won’t necessarily help everyone. Read your printers provided instruction manual and get familiar with your printer before making any adjustments. Monitor your print after making adjustments to ensure everything is working as expected. Incorrect adjustments can cause damage to your printer. Make adjustments at your own risk.
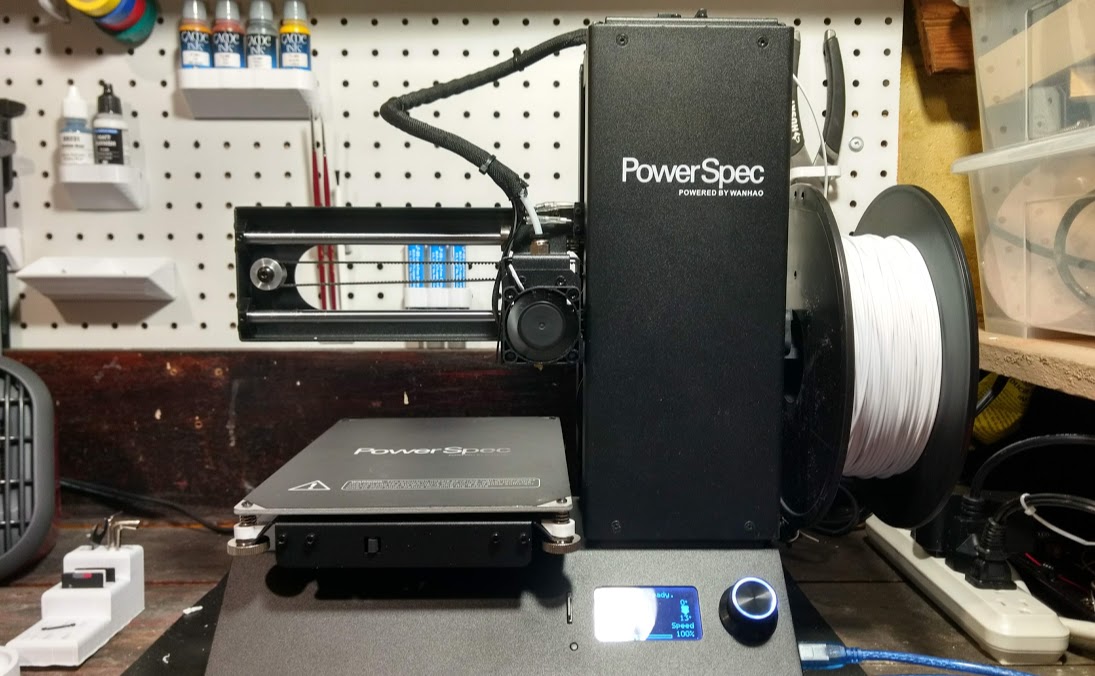
PowerSpec Duplicator i3 Mini
The printer I’m using is the PowerSpec branded Wanhao Duplicator i3 Mini. It came fully assembled but has required a number of adjustments to get everything working.
Bed Leveling
The instructions said to use the provided bed leveling gauge when going to through the bed leveling wizard. After doing this a number of times to get it just right, my prints were not sticking to the bed. The filament would lift off almost immediately. It was clear there was no adhesion to the plate. I went through the bed leveling again, this time making it so that I could barely get the gauge under the nozzle. This worked better but I still got some edges peeling up after a couple of layers were printed.
Solution
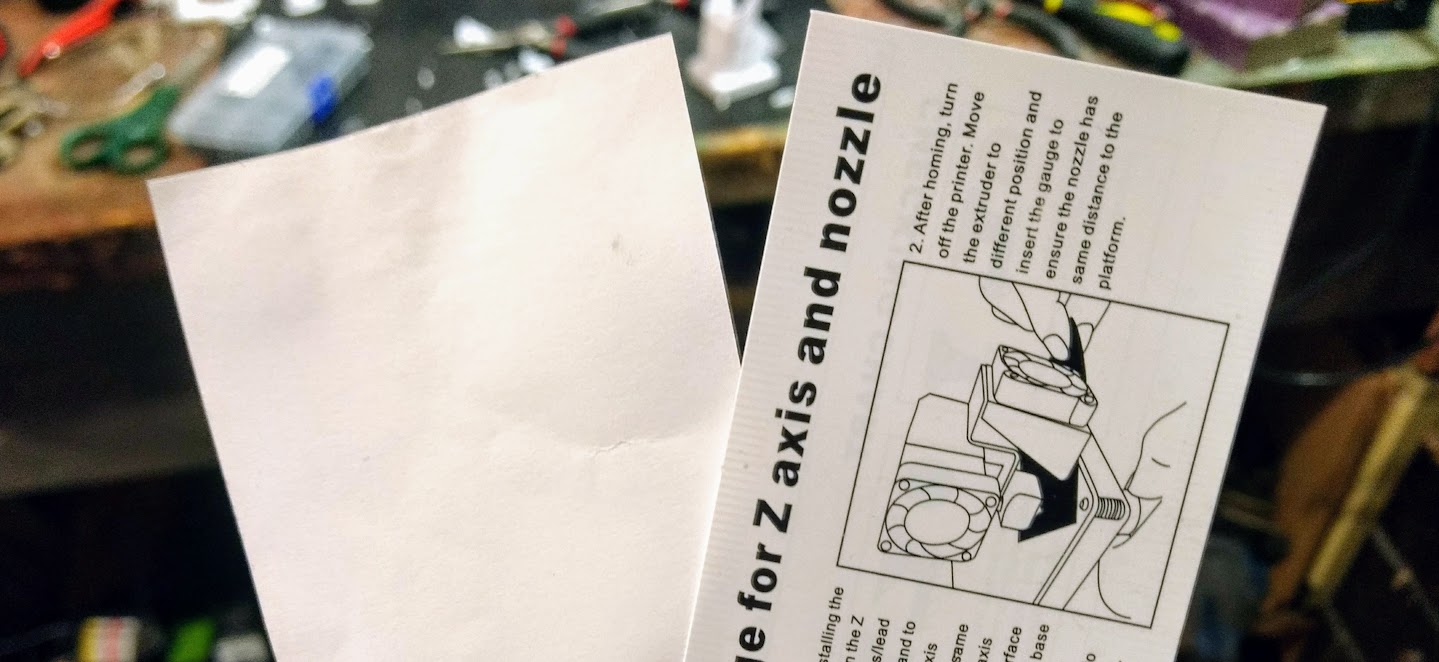
The solution that worked for me was to make a number of minor adjustments. First, slow down the brim speed to 10 mm / s. You can do this by enabling the advanced settings in Cura. Second, increase the temperature of the initial layer. My filament has a maximum temperature of 225 degrees C and I set the initial layer temperature at 220 degrees C. All other layers, I’ve been using 214 degrees C. Third, add a brim to all prints. This helps with adhesion. I’ve been using between 4 mm and 10 mm of brim. Lastly, use a standard 8.5 by 11 sheet of paper to level the bed instead of the provided gauge. Complete the bed leveling process multiple times and make sure there isn’t any filament on the tip of the nozzle when you do the leveling. After making sure there was no residue on the nozzle, I completed the bed leveling process with a cold nozzle.
After completing the above steps, I’ve had adhesion on all of my prints. Some resources online have suggested masking tape or glue sticks but I haven’t needed to use either of those. At one point my nozzle was a little bit too close to the bed and my brim was semi-transparent (using white filament). It was very difficult to get the print off. Leveling the bed again resolved this.
Summary
- Slow the brim print speed to 10 mm / s
- Increase the initial layer temperature closer to your filament max temp
- Include a brim width of 6 mm to 10 mm
- Use a sheet of standard printer paper for leveling instead of the provided gauge
- Keep overall print speed at 50 mm / s or slower
- Keep initial layer print speed at 25 mm / s or slower
Next Steps
The advanced settings in Cura make a huge difference in the quality of prints. Slowing the initial layer print speed and overall print speed have had a big impact on the quality and success of my prints. In a future post, I plan to provide details on which settings have worked well for various types of prints.